
Crafting – and then presenting to loved ones – small paper baskets filled with fresh wild flowers, treats, and / or notes is a time-honored and delightful May custom.

This charming tradition was flourishing during the mid-twentieth century in the Midwestern United States when I was young. Each spring, we children looked forward to the art projects at home and at school focused on making these precious and varied, three-dimensional paper baskets. Patterns and instruction were often provided in the classroom. Not surprisingly, the ones we made at home were even more lavish and imaginative. Their contents included wildflowers such as violets and dandelions (which always wilted). We added treats such as popcorn, notes, cookies, or penny-candies. A central part of the fun was placing the small – but well-filled – baskets on a door step, ringing the door bell, and dashing off to a convenient hiding place – ideally a place where you could clearly view the recipient’s reaction to your generosity! In some parts of the country, I’ve learned that a chase of the donor by the donee was also part of the fun.
The making of May Baskets is a custom that needn’t be lost or consigned to nostalgic histories. There are so many justifications for continuing this time-honored tradition. Let’s survey those reasons:
1. Crafting May Baskets – as part of a study of the seasons and human calendars – can help build children’s interest in (and positive associations with) astronomical science – specifically earth’s relationship to the Sun across the year. May Day, after all, is one of the Cross-Quarter holidays of the historic Celtic calendar (https://www.mos.org/article/happy-cross-quarter-day). It occurs approximately half-way between the Spring/Vernal Equinox and the Summer Solstice. May Day in the British Isles has been marked, for thousands of years, as the beginning of Summer’s growing season. This is good to know. It also accounts for the custom of calling the Solstice in June “Midsummer” – as in Shakespeare’s wonderful play A Midsummer Night’s Dream. You can see how this activity could enhance youngsters’ knowledge of cultural history – even as it builds a layer of cosmic Place knowledge, as mentioned earlier, with regard to the Earth’s movements in the solar system. And by the way, speaking of astronomical knowledge, how many of your students realize that Monday is named after the Moon or that Sunday is named after the Sun, or, for that matter, that the Sun is really our closest Star? How many of us adults recognize that Sunlight is a form of starlight? These little baskets that look like flowers offer us an opportunity to chat with children about Earth’s dance through the Solar System – and to talk about the dependence of plants (and all earthly Life) on energy and materials flowing in from the encompassing / embracing Universe-
2. From an arts’ perspective, creating and gifting appealing, well-constructed May Baskets has an obvious capacity for stimulating social and emotional growth / SEL. Such activities build a sense of self worth as young people direct their energies towards making something beautiful and meaningful both for themselves and those who receive it. Learning to make such trimmed and folded baskets provides memorable, hands-on experience with the strategies and skills required for forming three-dimensional objects. In this way, the project can also serve as an engaging foundation for later geometric and topological studies (part of the crucial Math component of STEM instruction).
3. Returning to Social, Emotional Learning and the importance of cultivating a sense of belonging within an awe-inspiring Universe, this project can and should be taught in ways that encourage children to deepen their appreciation for the astonishing beauty and functionality of Nature – particularly flowering plants and their co-creating animal partners. With a little guidance from you the teacher (and the objects/subjects of study themselves!), students can readily reach this understanding and express it artistically – in forms that communicate positively, both emotionally and intellectually, with others. Try to guide the children towards a discovery of the mysterious charm of various kinds of symmetry – radial, bilateral, multi-axial, etc. Teach them how they can integrate such properties and patterns into their own creative practice Encourage them to look for lovely color combinations and gradated tones and tints in blooming flowers. Give them time and scaffolding for observing and valuing the wondrous curving forms and contours of living plants. In such an atmosphere, this activity can nurture creative imagination, perception, and aesthetic judgement – as well as vital fine motor skills and general muscular coordination. It can strengthen students’ sense of connection and identity with Nature – as they mimic, or better yet, channel Nature’s beauty and generatively.
4. Additionally, if you choose to make ‘Blossom Baskets,’ you can readily introduce some fundamental ecological / biological learning. Such baskets can celebrate not only human friendships but also the approximately 125 million-year-old, mutually-beneficial partnerships that have evolved between plants and various living beings – the multitude of living creatures who help flowering plants with pollination. To better acquaint your students with the pollination miracles occurring throughout the growing season, encourage them to color the flower basket centers in ways that resemble or suggest stamens, pollen, and pistils. Discuss with them – at a level they can comprehend – the ways that pollen and nectar serve as food for various animals. Let them know that the mobile animals often do not consume all of the pollen they gather but instead carry some portion of it to other flowers of the same species. There, the pollen fertilizes ovules and produces seeds. This action allows new generations of plants to arise and flourish.
5. You can also combine this blossom basket project with peaceful, quiet time for ‘beholding’ / studying living flowers. This opportunity can help familiarize young people with the intricate structure and anatomy of flowering plants – in other words, their botanical form and function. Thus, students can build their scientific vocabulary and understandings even as they enjoy the beauty of their particular blossoms. Emphasize the plant features and the terminology in a conversational way while the children are coloring their baskets. Toss out some commentary regarding the role of the flowers’ parts both in terms of attracting pollinators and of protecting pollen and ovules from harsh weather or exploitative, extractive predators (a challenge in all realms of Nature, including human societies). Some youngster will ‘pay no mind’ to this information because other concerns are front and center, and that’s alright. Nevertheless, others will find such crumbs of knowledge stimulating and salutary. Teaching environmental science in this way removes the pressure of grades or ‘social failure,’ and allows information to be absorbed in a pleasant way by those who find such insights relevant.
6. It’s also important to inform (and inspire!) your students with stories about the the vital role of mutualistic partnerships between all sorts of flowering plants and mobile, non-plant beings – including a vast array of animals. Offer your students line illustrations of bees or butterflies that they can color, cut out, and glue to some portion of their completed flower baskets – or ask them to add their own drawings. They might also draw beetles, a hover fly, or other less common pollinators. Closeup photos of insects from magazines could also serve.
7. A few concluding options in terms of STEAM teaching involve emphasizing flowers’ geometric shapes, patterns, number of petals per bloom (multiples of three, four, or five?) colors, fragrance, and general aesthetics, depending upon the age and temperament of your students. If there seems to be interest, you might invite youngsters to consider / recognize the interspecific signaling functions of symmetry, colors, nectar guides, and fragrances. Can the children imagine how these beautiful flowers are actually sharing information about available food – and pollen in need of transfer – with their various animal partners?
There’s so much you can include on this topic, depending again upon the curiosity and knowledge base of your students. For a few more resources of this kind from this website, check out https:”evolvingbeauty.org/drawing-to-learn-about-blossoms-and-pollinators/ or my book, Circling the Sun, Racing the Wind (https://greenwriterspress.com/book/circling-the-sun-racing-the-wind/) or the free draft of that publication available in the Special Projects section of this website.
Directions for Crafting:
The pdf is fairly self explanatory, but I’ve also included specific directions in the following paragraph.
Blossom Baskets Templates EB Final 2026
Here’s a photo of some helpful equipment and the project in process. You’ll definitely need paper, glue sticks, scissors, and crayons. I highly recommend the square beeswax Stockmar type of crayon or Crayola crayons that have been removed from the paper covers to facilitate wider surface applications. Such crayons will allow students to create beautiful blended and gradated tones of color on their baskets and handles. Fine point watercolor markers and colored pencils are also helpful materials for this project – particularly for older students.

Designing the basket’s handle is a challenging – but very rewarding – feature of this endeavor. Handle making often works best if the youngsters first apply a base crayon color to both sides of the long rectangular bands (which you have already cut for them – perhaps from the below that feature patterns that you can print on copy paper to use directly or on card stock to serve as tracing templates. Invite youngsters to learn about using bilateral symmetry and later, double axis symmetry to create pretty patterns on the handles. Demonstrate for the youngest ones how to carefully cut a pattern on the open edges of a band that has been folded in half lengthwise / following the central axis that extends parallel with the longest side. This simple action can creates an interesting paired edge along the handle. Show the different effects that can be achieved with straight cuts or curved cuts. Emphasize that the ends of the handles are the locations that will be glued to the body of the basket and, as such, they probably don’t require delicate trims – just a pretty curve in place of their present clunky rectangular corners. The handle’s function is to beautifully and strongly connect the two main sections – i. e. the cup-like hand and the carrying structure. As such, a broad surface at the end of the band is useful for applying glue. Moreover, student’s can see the value of not cutting away too much of their handle’s substance because that might make it too weak or too spiky to hold.

When working with older children, you might demonstrate the charming effects that can be obtained by trimming a double axis fold (formed by two intersecting vertical and horizontal folds that pass through the band’s middle). (Learning to form these – to fold materials in general – is so helpful in developing visual perceptions of balance, understandings of geometry and biomorphology, and a whole raft of physical and mental skills that are essential for constructing with everything from fabrics to oak planks! Viva origami!) Returning to the topic at hand, the shape of the rectangular handle bands is then elaborated through curved or straight trimming along the outer edges of the resulting double axis fold and even little snips along the central axis. As mentioned early, please caution that the trimming should not be so large as to compromise the structural function of the handle. (Actually demonstrating this with a little drama and humor is by far the best way to share this insight.) After cutting the handle (best done after an initial overall crayon coloring of both sides of the band), there are additional opportunities to design, draw, and emphasize patterns around the symmetrical negative spaces created by trimming featuring various repeated motifs and hues. This part of the work sensitizes students to the power and beauty of working with rhythm, symmetry, and imagination!
I recommend combining this Blossom Basket project with:
-
-
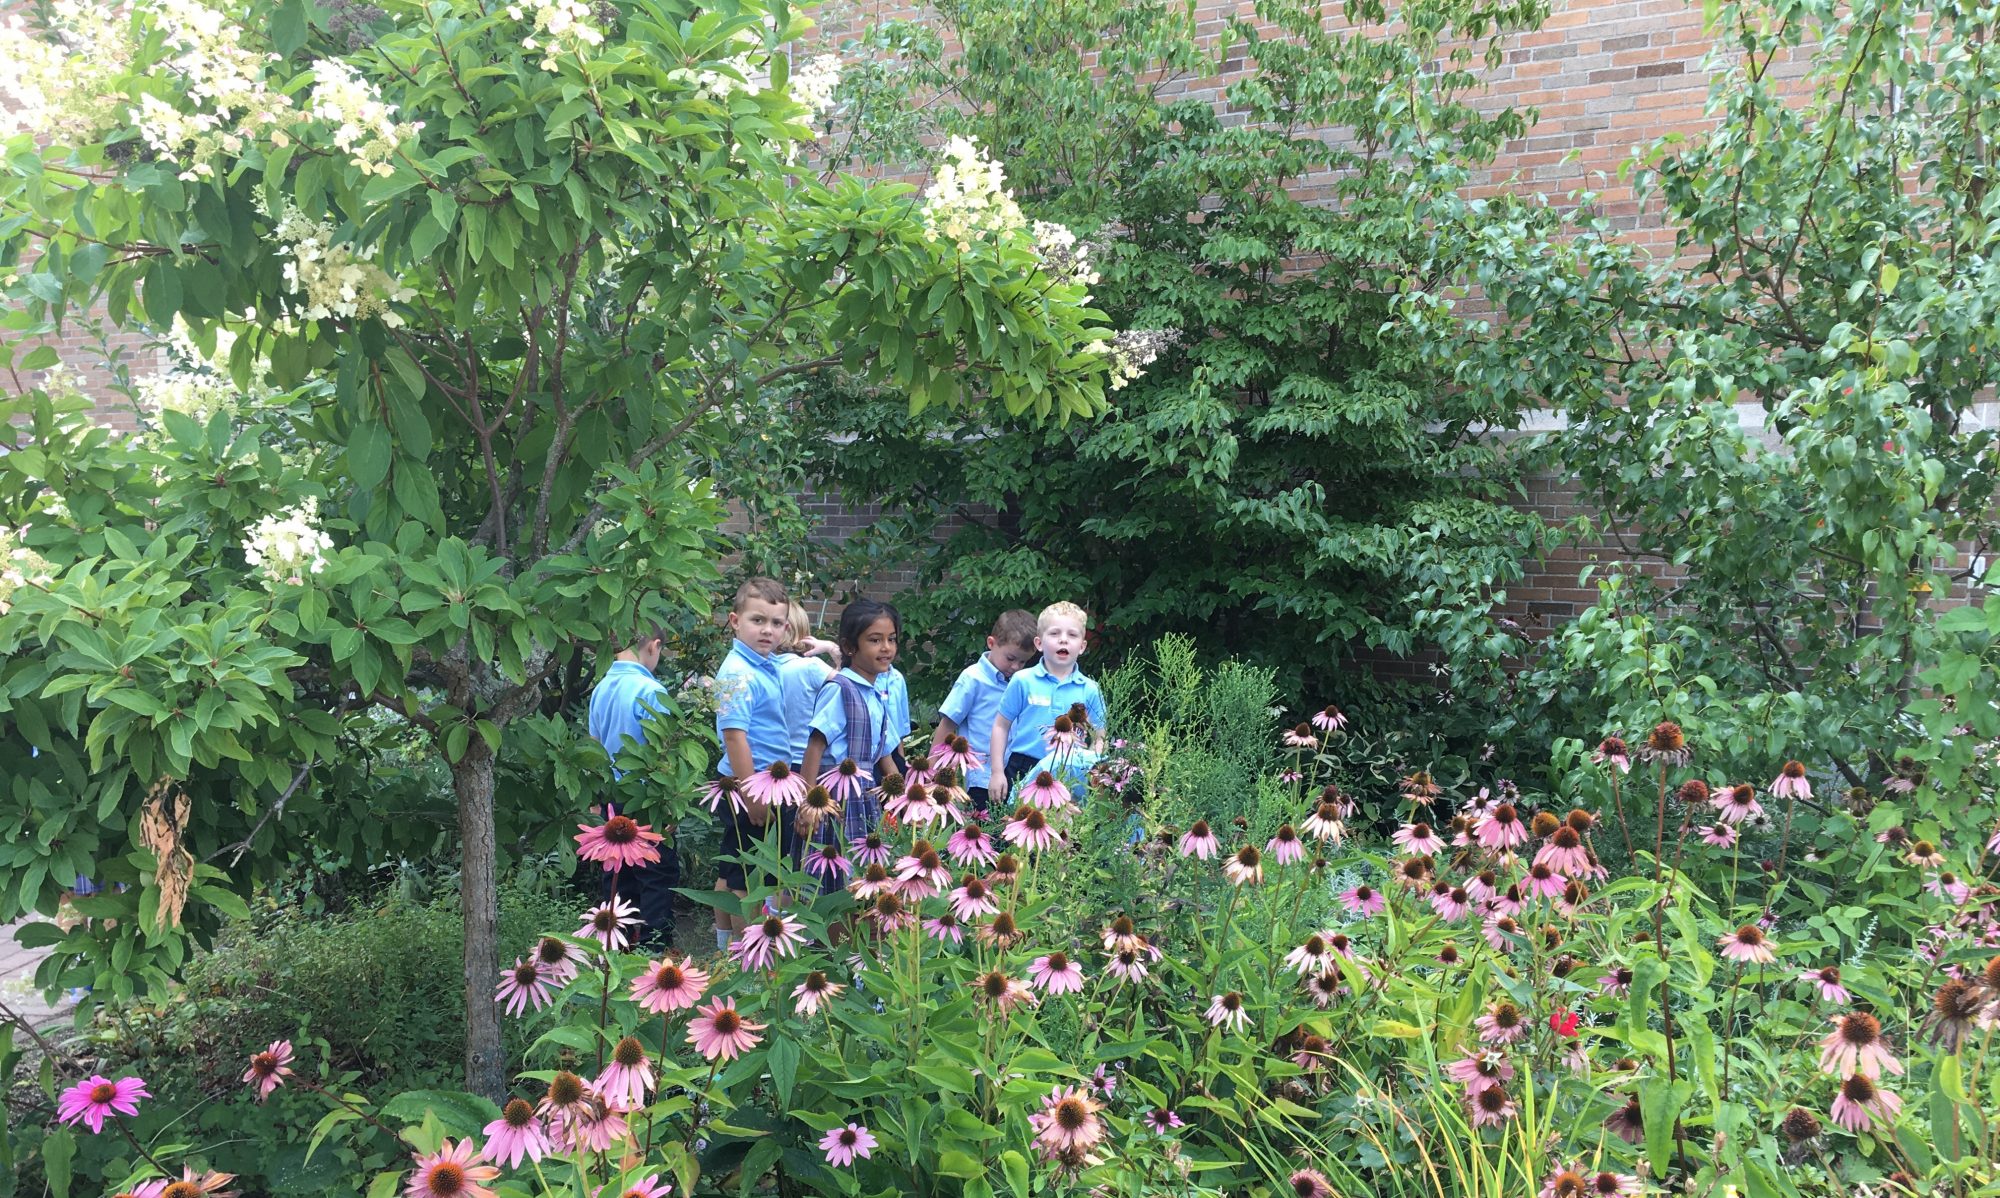
- observational field trips to nearby blooming plants, the school garden, or nearby ‘natural’ or well-landscaped areas to directly witness flowers and their pollinating partners first hand.
- lively outdoor games such the “Buzzing Bumblebee” singing, circle game about flowers and pollinators – or for older students, a racing, team collecting game such as “For Plants to Grow.”
- opportunities for free drawing, painting, and collage (cutting and pasting) about plants and and pollinators. You can also make available pleasantly serious, respectful (rather than predominantly commercial) line drawings / coloring pages about flowering plants and their pollinators. The Peterson series are very good – as are most of these Dover publications. https://store.doverpublications.com/collections/flowers-nature
-
With such a combination of ingredients, you’ve assembled a pleasant and memorable occasion for all sorts of learning and learners!
Another STEAM May Basket Variation: Cone Baskets


As a STEAM project, what could be more astonishing, delightful, and even empowering than discovering that a flat 2D paper half circle shape when gently curved and overlapped can become a 3D cone? And not only a cone, but a charming colorful cone with full circles (that once were rainbow arches) garlanding its sides!
Cone Basket with Directions EB 2026
For younger students, I recommend simply printing copies of this pdf (provided above) on the paper of your choice. This pdf provides pre-drawn arches and half circles. With such a guide, students need only use their cutting skills to trim out the half circles. They can then move forward with the challenge of coloring the rainbows / arches in crayon, colored pencil, or markers, and exercising their pattern design knowledge and skills to create intriguing pattern sequences for each curved band of color.
A more advanced variation of this project, employs one half circle tracing pattern for every three or four students. (These can be folded paper plates – just make certain the fold or cut line passes through the plates’ exact center.) Provide rectangular papers of various colors, textures and patterns that are sized to fit these half circle patterns. Have the children trace the half circles onto their papers, cut them out and embellish them. This could involve free-hand figurative illustrations, collage, layered and gradated coloring endeavors, or the creation of a series of nested arches that are parallel to the to the outer edge (perimeter) of the half circle. (The latter can become a fine challenge that stimulates and rewards students’ capacities for active observation, and fine motor and contour drawing skills.) The next step is to carefully bend the half circle at its center so that a cone is formed. Flattening it again, add glue to one of the straight sides and overlap it across the adjacent side to regain the cone form. Hold the glued edges in place for a half a minute or so that the glue can bond and maintain the conical form. Youngsters should then add a decorative handle, perhaps ornamented with single or double axis symmetrical trimming. The finished basket is ready for filling and gifting!
key words: cosmic connection, STEAM, 3D Paper Baskets